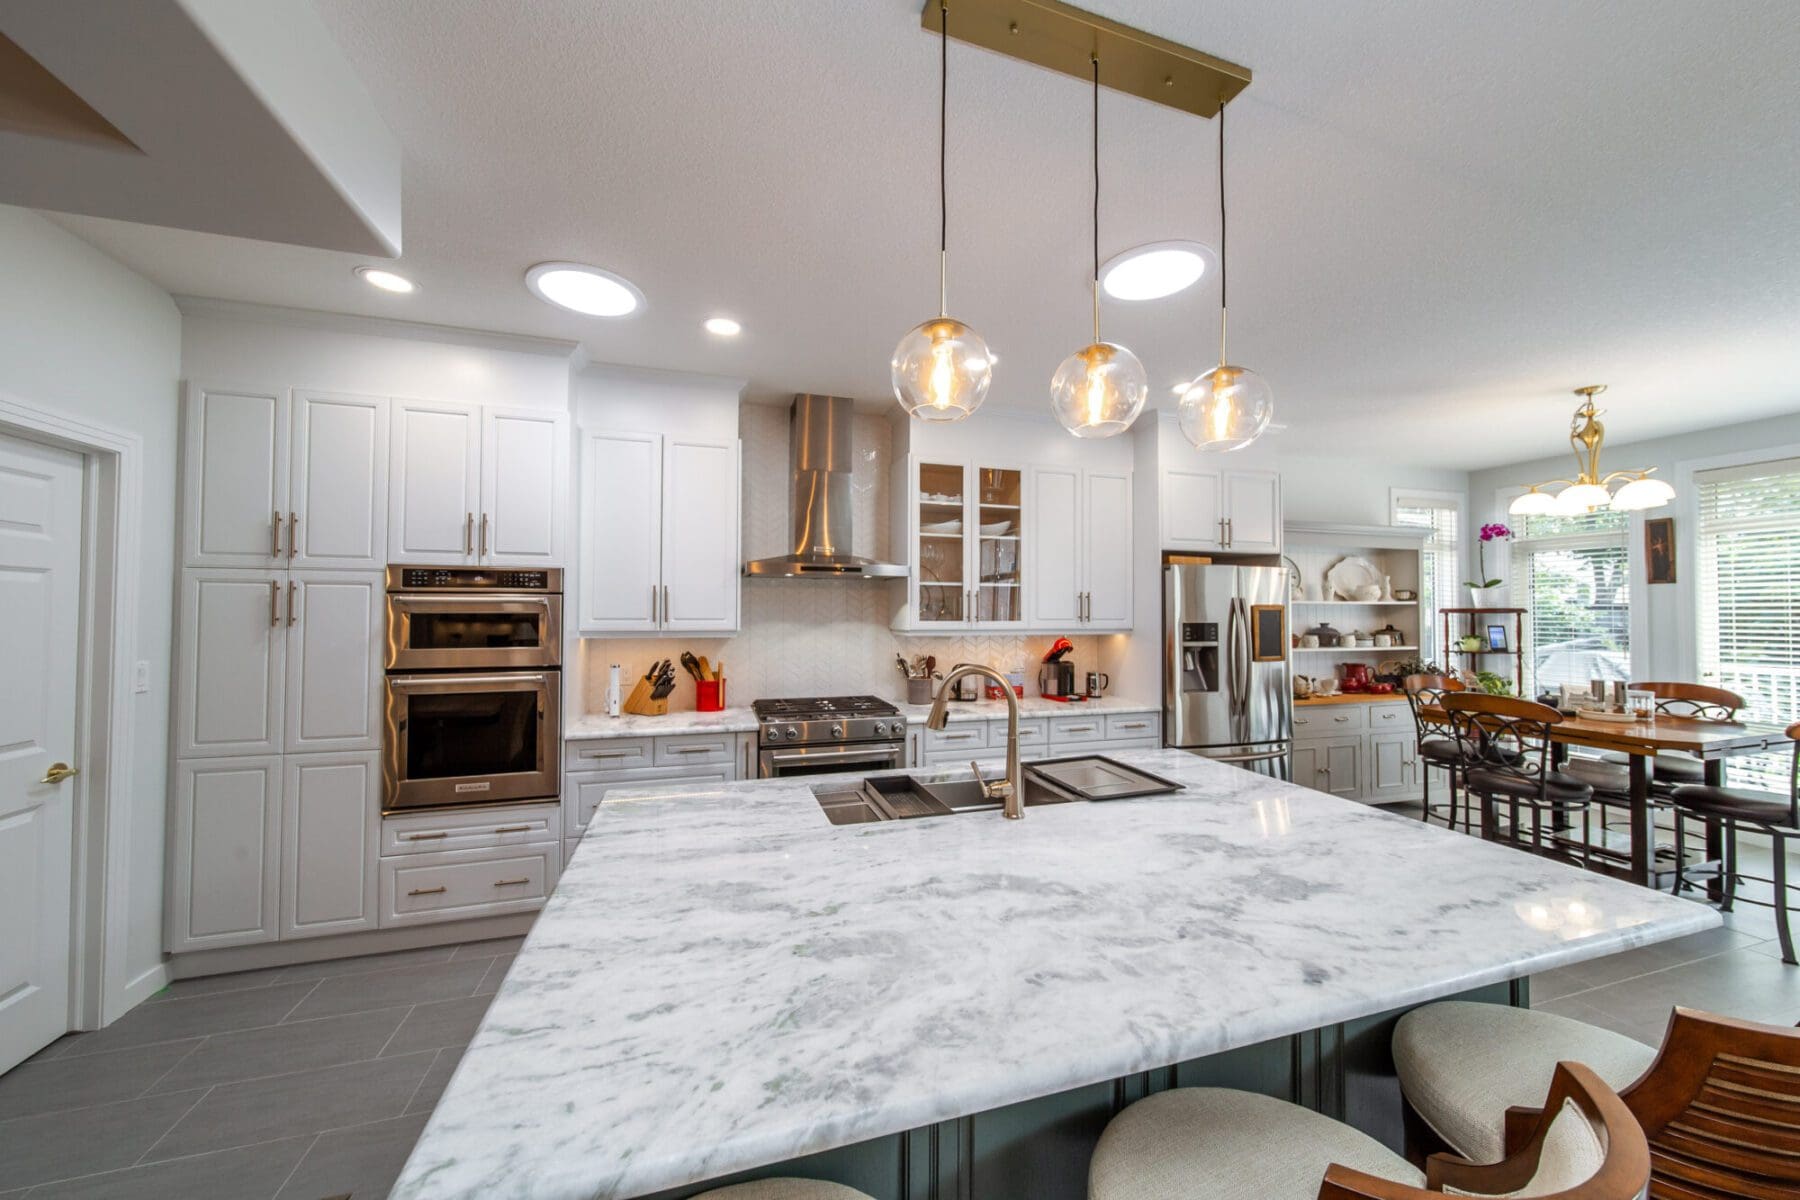
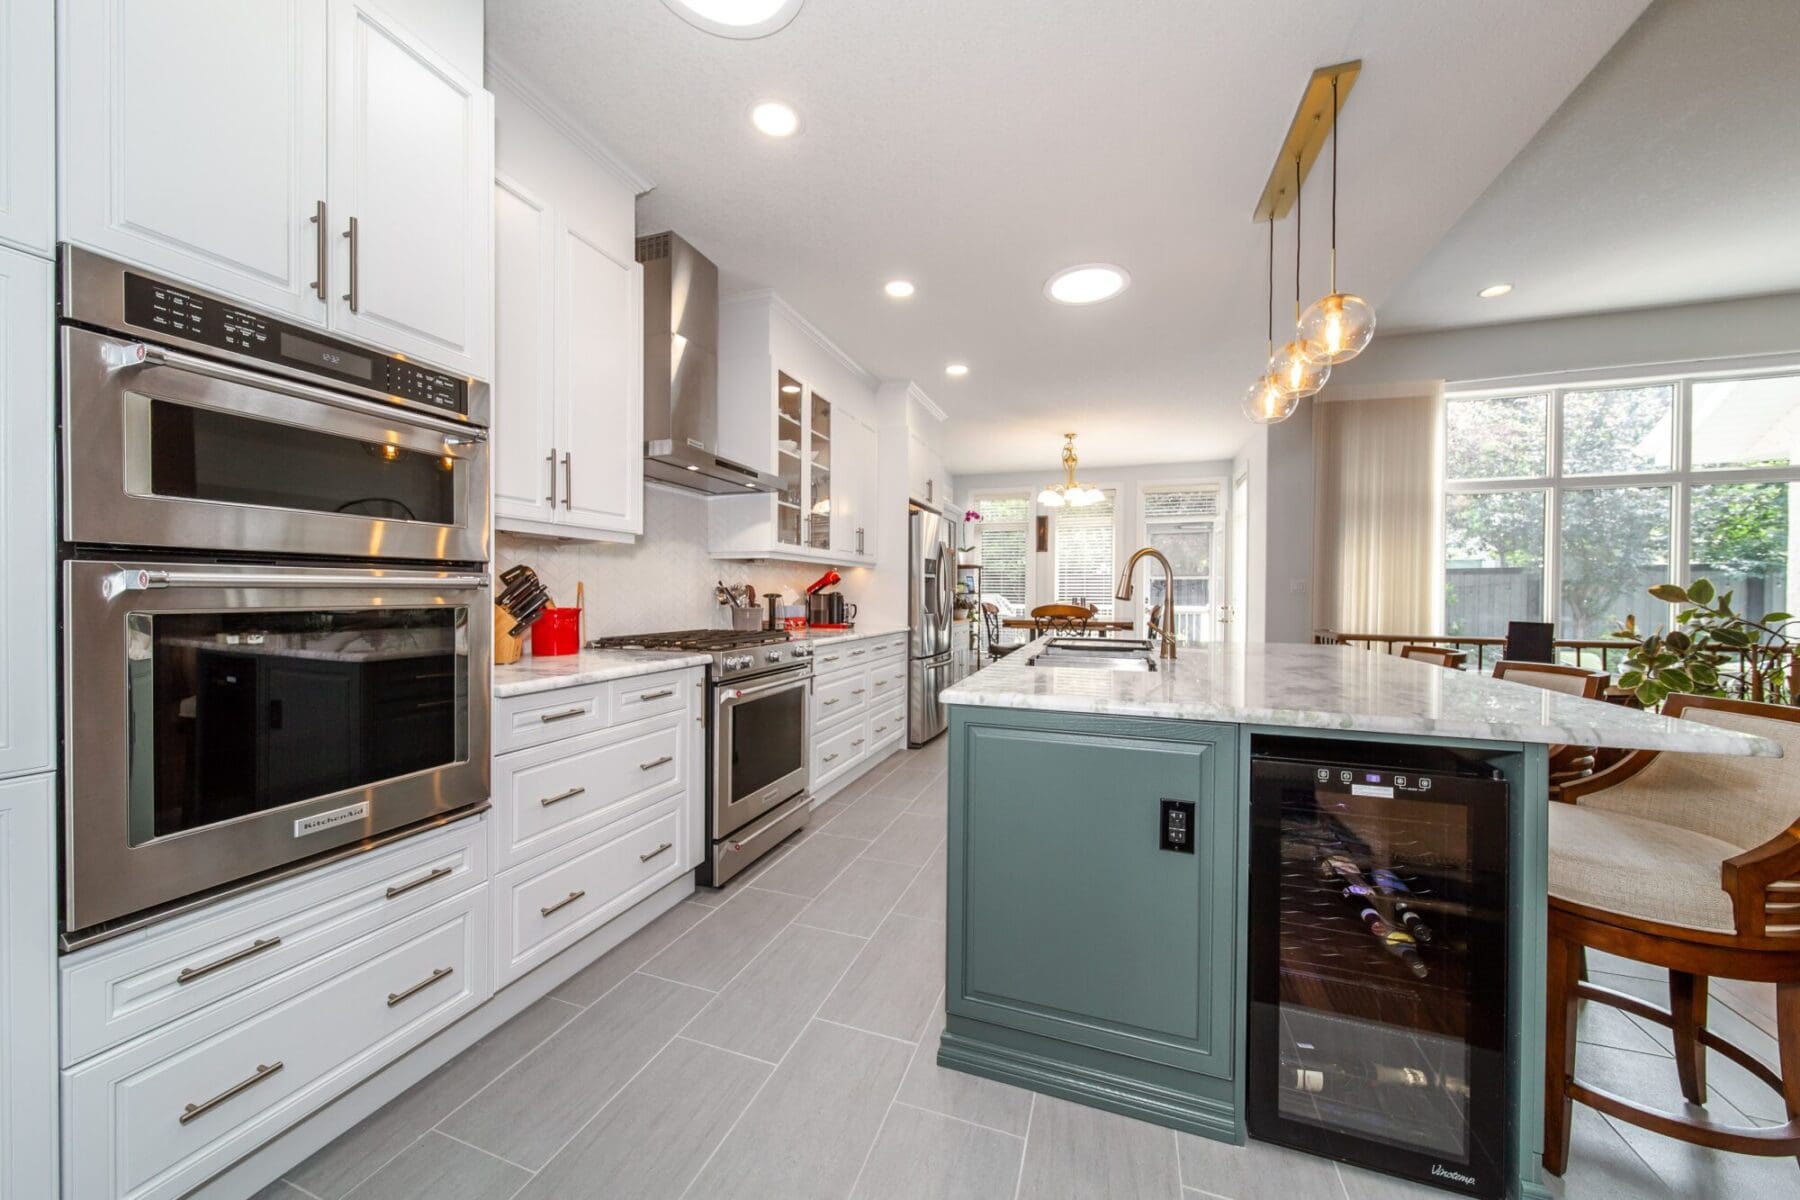
This renovation solved the issues of a cramped and closed-off kitchen, dated home design, and limited basement use. We completely reconfigured the kitchen, the living and dining areas including fireplace, and the basement. Now this space is spacious, functional and stylish.
If you’re looking for ideas on main floor design, look below for advice on opening up your kitchen, designing a gorgeous fireplace and surround, and updating your basement!
The Full Kitchen/Main Floor Reveal
Check out the full tour of this kitchen/main floor transformation below, or read on to learn more:
Our first priority was to improve the layout, which meant removing some walls. This main floor used to be kind of separated into three rooms by a wall that used to divide the dining room from the kitchen and the kitchen from the living room. It was an obstacle to flow and cut off natural light within the space. Now the kitchen is a nice open concept with easy access to all sides of the island and far better use of space.

We actually salvaged some of the existing cabinetry and repainted it. Then we added some new cabinetry that was custom-built to match the original finish and the door profile. This gives us a half-recycled, half-new set of cabinets, but it all looks consistent! They also complement the new island.
Since we took out a wall, we had to move the fridge and some other storage that was against that wall. Now we have the fridge over at the end of the cabinets. We paid attention to creating that nice golden triangle for easy access to all the appliances. This also makes for great flow through the space.
As well, since we removed a wall, we had to consider the bulkhead by the dining room. A lot of thought went into how we could design it after the wall was removed to make it look like part of the original design for the home. We had a few texture patches to do, but it turned out great! It looks like part of the original design for the home and creates this wonderful open concept.
Let’s move on to the rest of the main floor.
First, we have the fireplace area. We fully demolished the previous fireplace—it was a multi-tiered unit that was kind of dated and the fireplace was off centre.
Now the fireplace is centred. We have a new fireplace, and a new chase or bump out for that. Then we’ve added these floating shelves and cabinetry for storage and some great lighting details in here as well. It’s a really nice, elegant look.
Finishing Options for Your Fireplace
You can go beyond the classic options of stone or tile on your fireplace chase.
We thought outside the box when finishing this fireplace area. Instead of the classic options like stone or tile, we opted to go with a shiplap finish. This gives a nice textured finish which is not quite as common.
We combined it with a plaster finish on the hearth and on the finish around the fireplace itself. This creates a really nice contrast between the texture in the shiplap and the smooth finish on the hearth and the fireplace surround.
A few more touches finish this space off. The mantle is stained to match the colour of the floating shelves, as well as the cabinetry up on the uppers. On the lower cabinets, we have a green accent colour that really helps them to pop. And then we have a neutral tone on the countertops to help tie it all together.
When considering your fireplace finish, get creative, think about different options that might work for you and think outside of the box! This is a great way to finish this area off.
What to do with that space around your fireplace
There is more to a fireplace than just the finish. What do you do on either side of the fireplace? How do you make it a beautiful focal point? This is what we created for these clients.
Traditionally, for the space on either side of the fireplace, you’d see bookcases or bookshelves here, or perhaps cabinetry. In this instance, we’ve gone with something a bit non-traditional.
This fireplace has an asymmetrical design with the floating shelves offset from each other on each side. There is also a glass cabinet on the far end to display some crystal, and there is lighting incorporated into the cabinet. This gives the clients a really great opportunity to display the things that they love.
So when you have this space around your fireplace, get creative! Think about what you want to display to your guests and to your family, and how you can use the space to make it your own.
Creative Fireplace Lighting Ideas
Lighting can make a huge difference in the appearance of your space.
This space includes a creative use of lighting. In this nice fireplace area, we installed puck lighting in all the floating shelves. And what a difference it makes with both the appearance, but also the function of the area!
One thing to consider here though, is that all of this lighting needed to be planned out in advance. We had to rough in all the wiring during the rough-in stage, which is before drywall was up. This meant we had to know where we wanted the shelves to sit, and make sure we had the wires in the right location, before the drywall went in. And then we needed to get the wires through the drywall in the right place for when the shelves were put in place. So the puck lighting is a great detail, but a lot of work went into it, and at no insignificant cost either.
The pricing behind this will depend on the fixture that you choose and how many lights you have. But in this case, you can see it’s really made a great difference to the end result. When the lights are on, it’s a great focal point to the main living area. And there is also good task lighting on the bar area, making the space even more usable.
So when you’re planning your space, think about using light to give you that nice ambient lighting, and to give you some task lighting.
Creating a Multi-Use Basement that is Useful for You and Your Family
The basement of this home was previously developed, but there was far less usable space. There was a wall that went across it, and they had some undeveloped area. So here we’ve expanded the developed footprint and made this into kind of a multi-use space.
First we created a kind of the bar area, entertainment area and lounging zone. Beyond that is the TV area, which has a nice electric fireplace, some storage and lighting details and a good spot to kick back and watch a movie. We added some nice finishing touches in here to class it up, like the shelving and lighting around the fireplace.
Further back into the space, we also developed a gym. Many people would love to have a space tucked away in the basement where you can work out. There is a TV up on the wall there so they’re able to work out and watch their show while doing it.
Overall, we created a wonderful space down here where they can have designated areas for different activities, while also maintaining a nice open concept space to host and entertain or spend time with the family.
Think about these ideas if you’re planning a basement renovation!
Want to know more about this renovation project? You can see the project portfolio for this project here.
And if you’re looking for more tips like this that maybe you haven’t thought of yourself, talk to your contractor to see what they suggest! They might have great ideas to elevate your kitchen. Reach out to us here at Contact Renovations at (780)455-4446 or info@contactrenovations.ca for all your questions about your renovation project.
Need a little professional advice as you plan your dream kitchen and main floor?
We have much more to share! Send us an email at info@contactrenovations.ca and we’d love to help you make your dream home a reality.
Don’t miss out on more advice from Paul and his fellow industry experts. Subscribe to our YouTube channel where you’ll find videos that have the answers you’re searching for.
About Contact Renovations & Custom Homes
At Contact Renovations and Custom Homes, our client-first philosophy has made us a top Edmonton Design Build Contractor for over ten years. We pride ourselves on high quality renovations that speaks for itself.
Click here to learn more about how we can help you bring your vision to life.


